The Grid
Think of the grid as an invisible sheet of graph paper laid over your page. Every object you place snaps to this grid, which keeps things aligned without you having to calculate pixel positions. If you’ve ever seen a newspaper with five neat columns, or a catalog where images and text line up perfectly – that’s grid-based layout.
XTS always works with a grid. Since every publication is different, there’s no magic default. Out of the box, the grid is 1cm x 1cm, which is rarely what you want. So you’ll almost always set it yourself.
Setting up the grid
Use <SetGrid> to define your grid. There are two approaches:
Fixed cell size:
<SetGrid height="12pt" width="5mm"/>Number of cells (XTS calculates the size):
<SetGrid nx="9" ny="9"/>This creates a nine-division – a classic book design pattern. XTS divides the available width into 9 columns and the height into 9 rows.
You can also add gaps between cells, which is common in newspaper layouts:
<SetGrid width="45mm" dx="3mm" height="12pt"/>To see your grid while developing, turn on the grid trace:
<Trace grid="yes"/>or run XTS with xts --trace grid. You’ll see something like this:
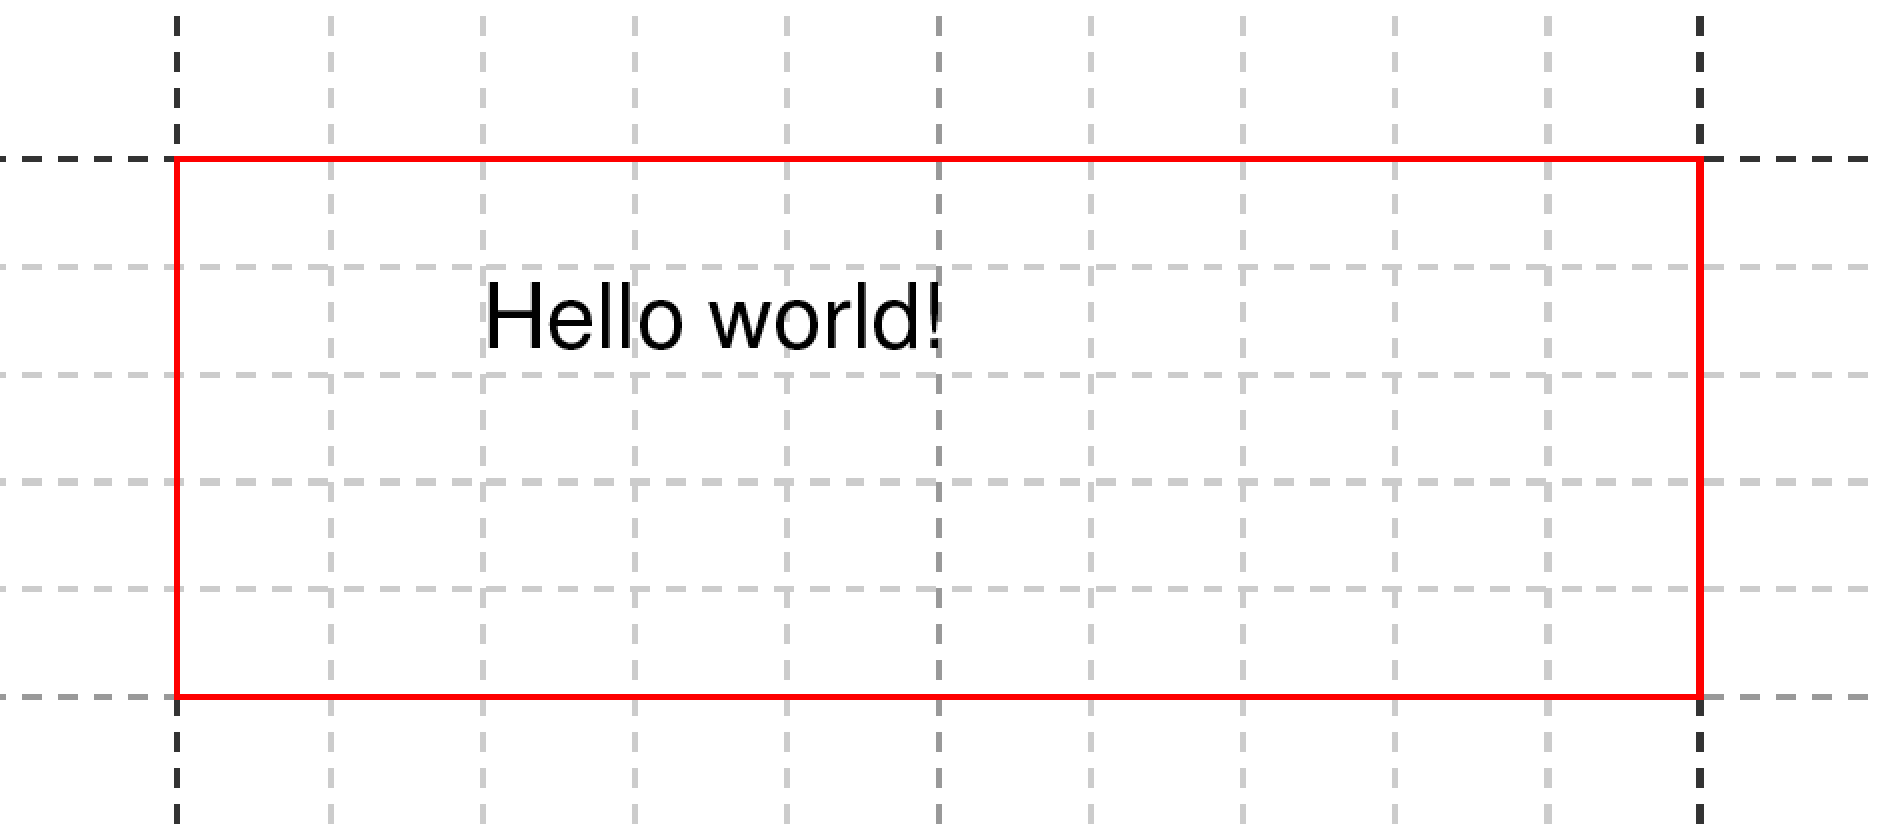
The red line shows the page margin (default: 1cm on each side).
Placing objects on the grid
The origin is the top-left corner at position (1, 1). When you specify row and column on <PlaceObject>, you’re giving grid coordinates:
<!-- Grid-based: column 5, row 4 -->
<PlaceObject row="4" column="5">
    <Image file="_samplea.pdf" width="5"/>
</PlaceObject>

<!-- Absolute: 5cm from left, 12mm from top -->
<PlaceObject row="12mm" column="5cm">
    <Image file="_samplea.pdf" width="5"/>
</PlaceObject>
As soon as one value is a length (like 5cm or 12mm), XTS switches to absolute positioning. You can’t mix grid and absolute in a single <PlaceObject>.
Grid allocation
The grid doesn’t just help you position things – it tracks what’s occupied. When you place an object, its cells are marked as “allocated.” If you try to place another object in the same spot, you’ll get a warning.
Turn on allocation tracing to see it visually:
<Trace grid="yes" gridallocation="yes"/>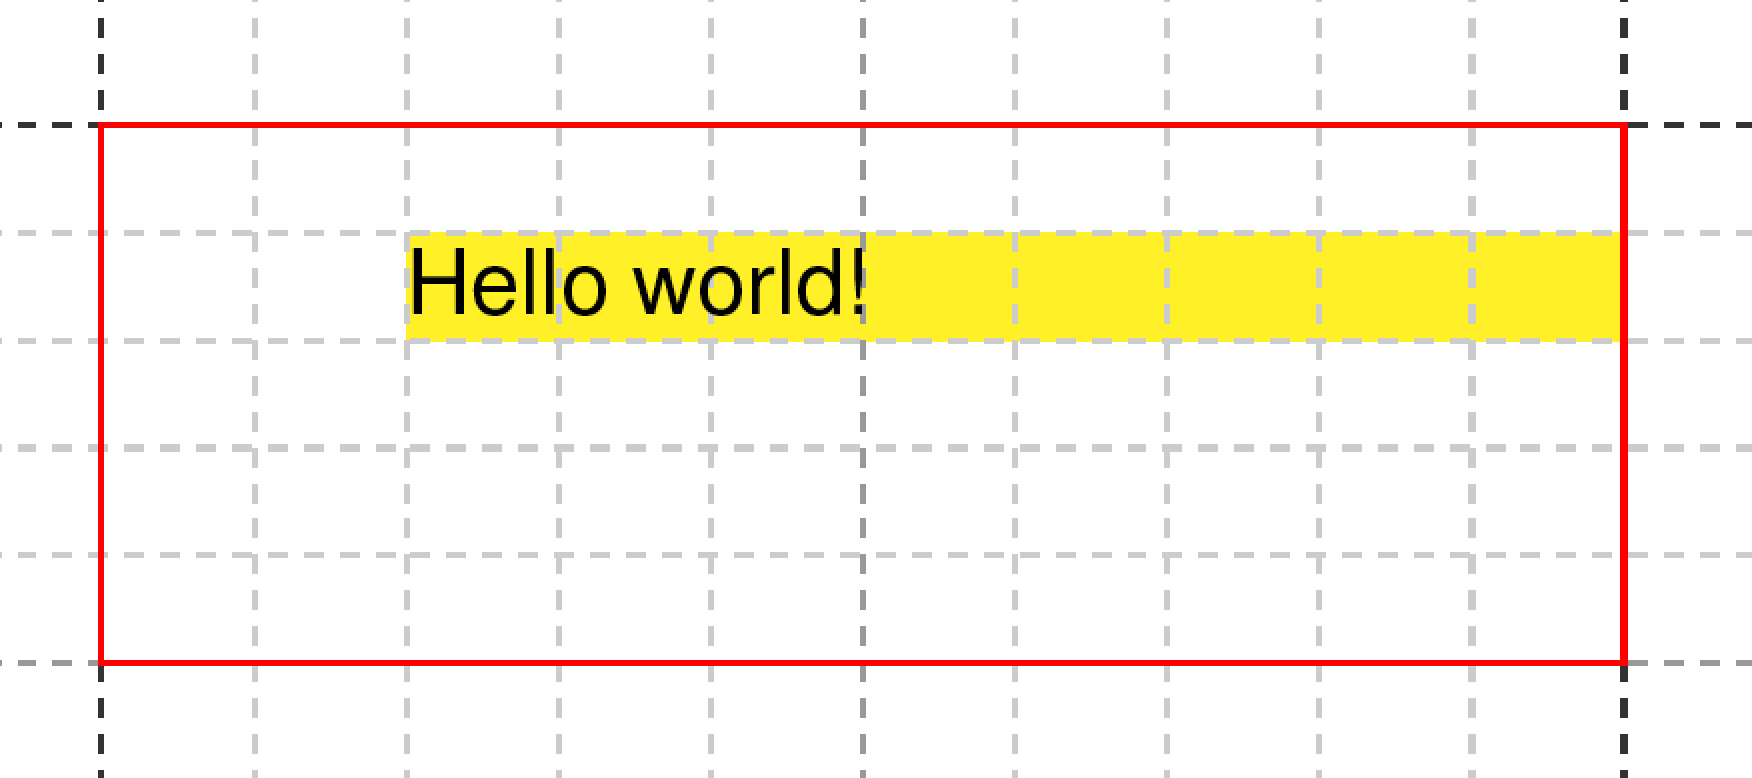
If you want objects to overlap (say, a background image behind text), use allocate="no":
<PlaceObject allocate="no">
    <Box width="4" height="3" backgroundcolor="lightyellow"/>
</PlaceObject>
Automatic placement
If you omit row and column, XTS finds the next free position automatically:
<Record match="data">
    <PlaceObject>
        <Image width="4" href="_samplea.pdf"/>
    </PlaceObject>
    <PlaceObject>
        <Image width="4" href="_sampleb.pdf"/>
    </PlaceObject>
</Record>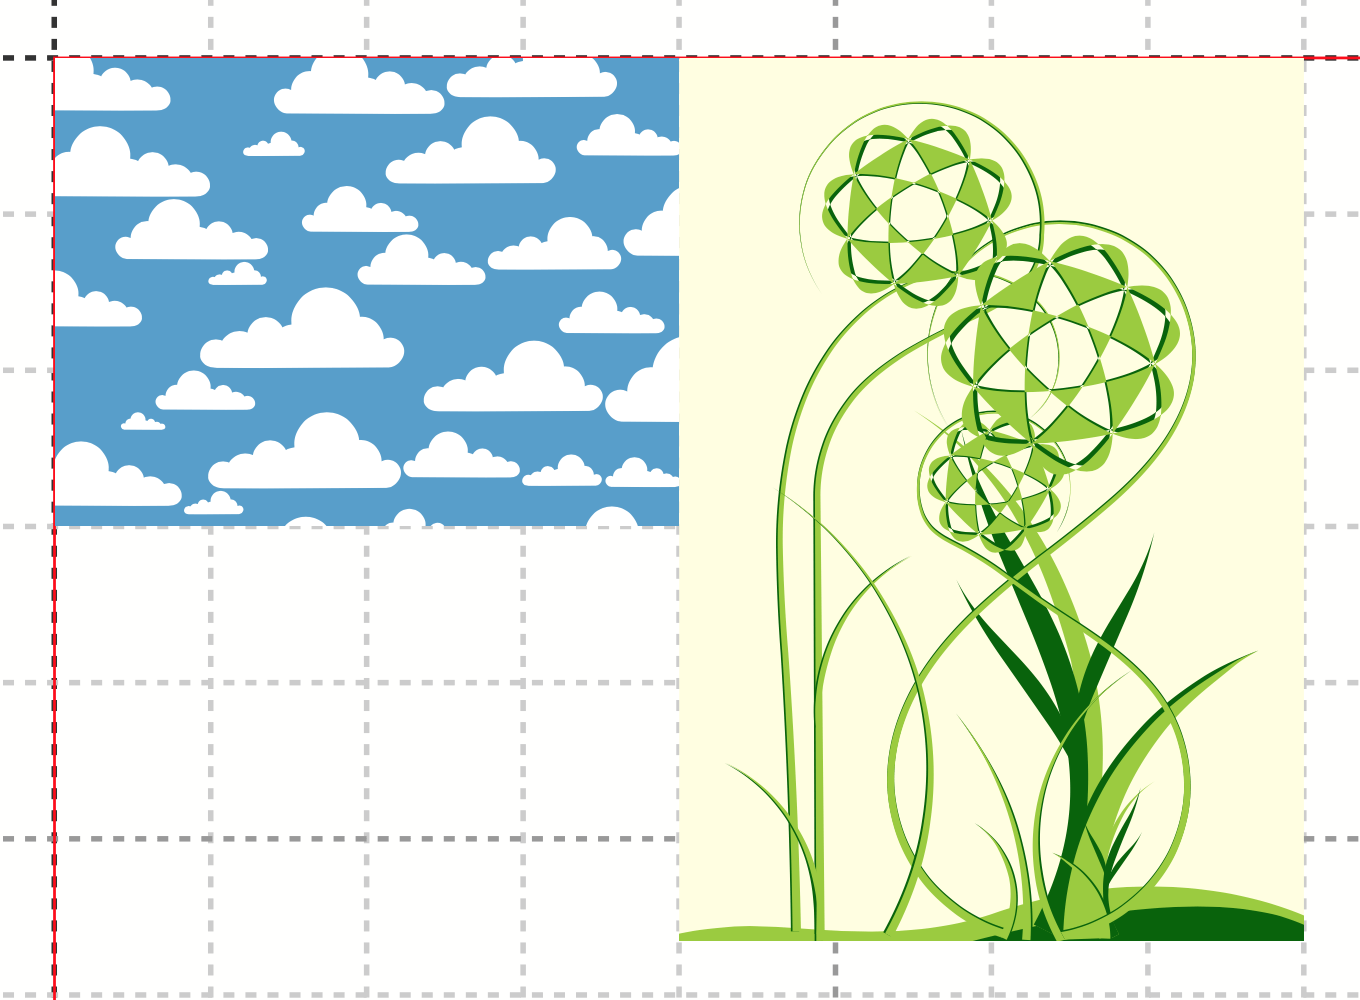
This is how most layouts work in practice – you let XTS flow content into the grid, only specifying explicit positions when you need them.
Alignment within grid cells
Objects don’t always fit the grid perfectly. An image might be 3.7 grid cells wide in a 4-cell space. Use halign and hreference to control alignment:
<!-- Right-align an object at the last column -->
<PlaceObject column="{sd:number-of-columns()}" row="1"
    hreference="right" halign="right">
  <Image file="logo.pdf" width="2.5"/>
</PlaceObject>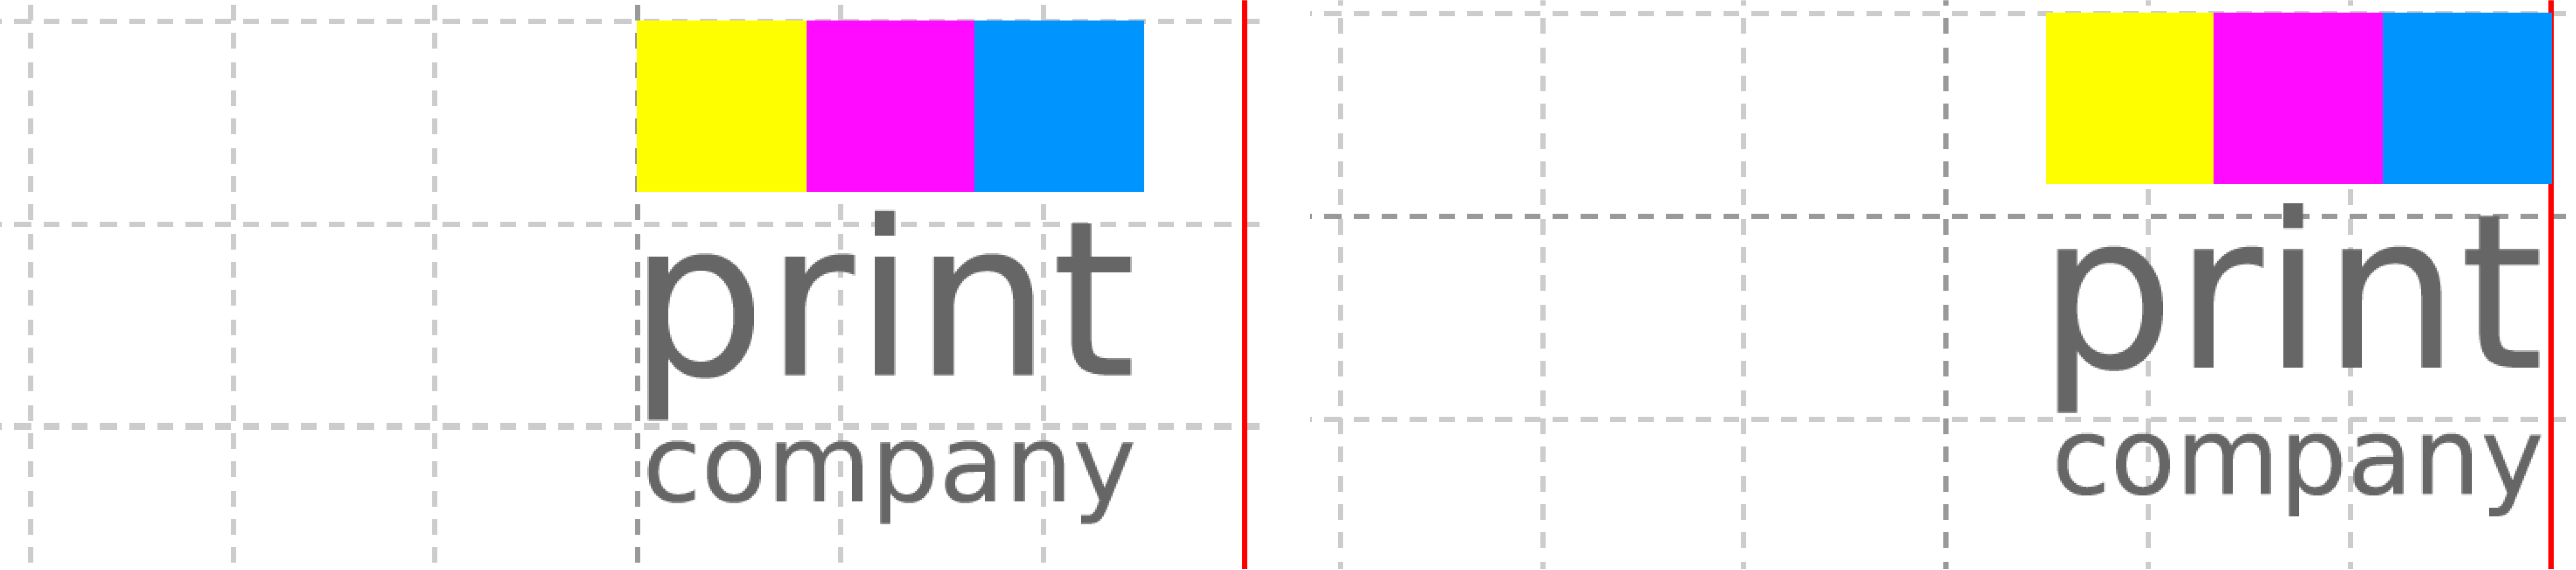
hreference="right", the column refers to the right edge of the object.Grids in slates
Slates can have their own grid, independent of the page grid:
<Slate name="table">
    <Grid width="1cm" height="12pt"/>
    <Contents>
        <PlaceObject>
            <Table width="4" stretch="max">
                <!-- ... -->
            </Table>
        </PlaceObject>
    </Contents>
</Slate>

<PlaceObject slate="table"/>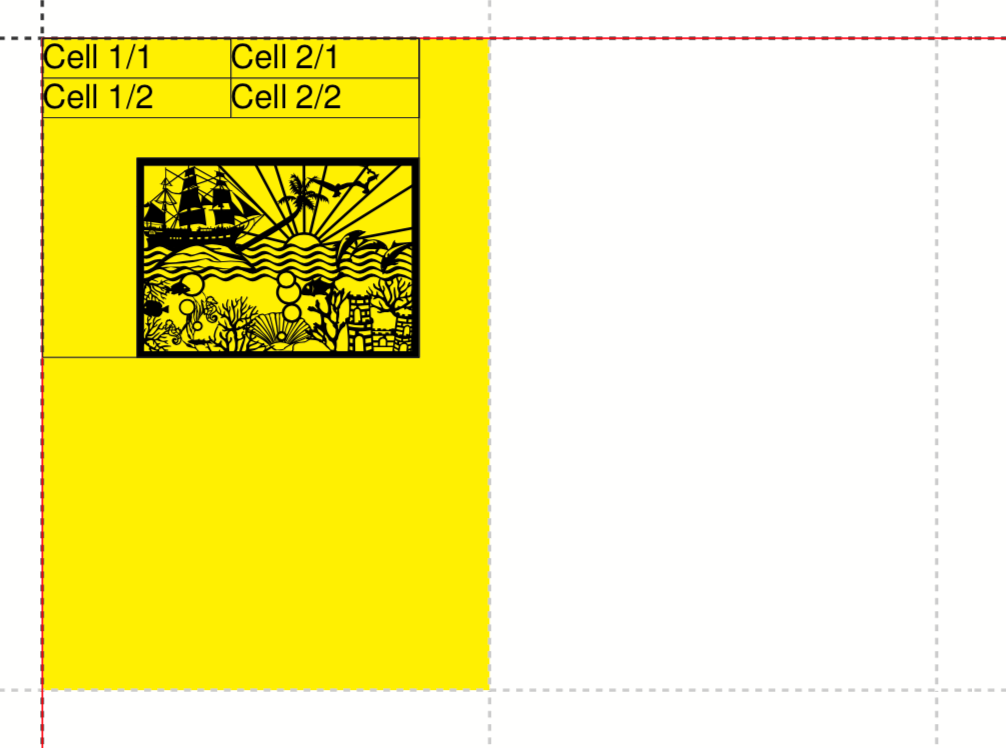
This is useful when you need different grid resolutions for different parts of your layout.
What’s next?
Now that you understand the grid, let’s look at placing objects in more detail – text blocks, images, boxes, circles, and barcodes.