<PlaceObject>
<Image file="ocean.pdf" width="10" height="3" clip="no"/>
</PlaceObject>
Inserting images into the PDF is very easy, a short command is enough:
<Record element="data">
  <PlaceObject>
    <Image file="_samplea.pdf" width="5cm"/>
  </PlaceObject>
</Record>
The image _samplea.pdf is (like _sampleb.pdf) part of the Publisher and can be used for testing purposes. The supported image formats are PDF, PNG, and JPEG. Other formats must be converted into one of these formats before processing. If the program inkscape is installed, it is used to automatically convert SVG files to PDF (check the section about the configuration for setting the command line parameters for inkscape). The format that causes the least problems in practice is PDF. Here, color profiles can also be embedded.
The images are not changed during processing in the Publisher, i.e. they retain their original (file) size, among other things. With very large images, the processing speed is lower and the size of the resulting PDF file naturally increases. Therefore it may be worthwhile to have special versions with smaller file sizes available for processing.
If you include images, it is always useful to include a size specification. Otherwise the natural size of the image is taken. What the natural size is, is not always clear. Usually there is a DPI specification in the image file. This is often set arbitrarily by the image processing program. For example, if it says 72 DPI, a 720 pixel wide image is 10 inches wide; at 300 DPI, it is only 2.4 inches wide.
Since the specification cannot be relied upon, size specifications are required for the output. This can be either the desired height or width of the image, or both together. In the example above, the image has a width of five centimeters. The specification can also be made as a number of grid cells. Specifying width="100%" means that the entire available width should be used (currently other percentages are not supported). The specification auto is like omitting the specification and is only available for CSS compatibility.
If both proportions are specified (width and height), there are two modes: keep aspect ratio (clip="yes") or stretch or shrink (clip="no") the output.
<PlaceObject>
    <Image file="ocean.pdf" width="10" height="3" clip="no"/>
</PlaceObject>
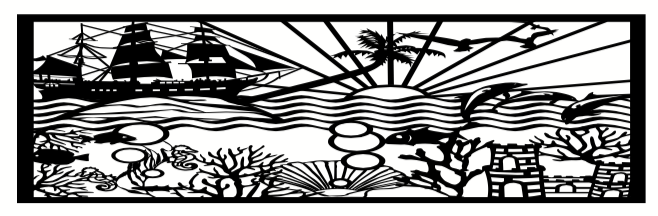
With clip="yes" the image is cropped so that the maximum dimensions are taken on one side.
<PlaceObject>
    <Image file="ocean.pdf" width="10" height="3" clip="yes"/>
</PlaceObject>

The size of images can be determined with the two XPath functions sd:imagewidth(<filename>) and sd:imageheight(<filename>). The result is in grid cells. Caution, here the natural size is taken, which may be without significance (see above).
To use the natural size, but specify restrictions, there are four combinations of min/max and width/height. The image in the following example will be no wider than 10 grid cells and no higher than 3. The aspect ratio is preserved:
<PlaceObject>
    <Image file="forest.jpg" maxwidth="10" maxheight="3" />
</PlaceObject>
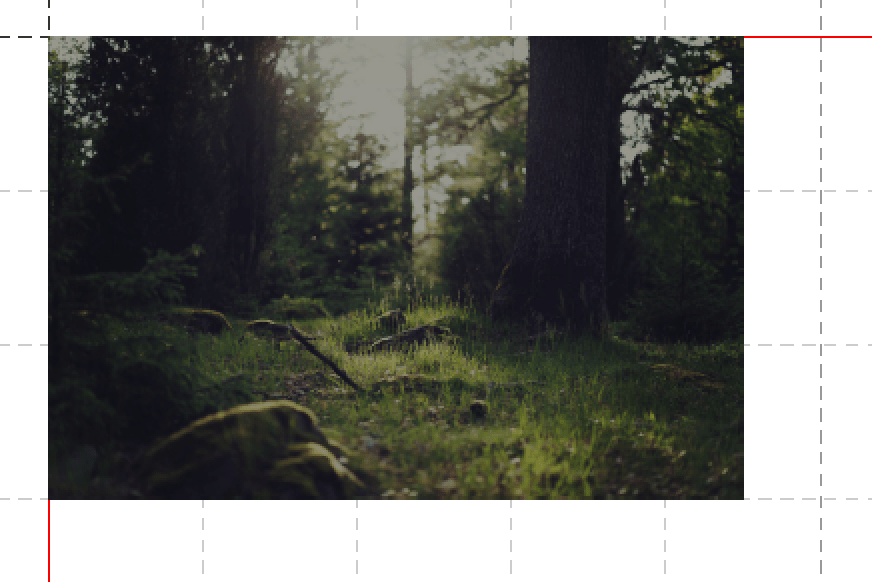
If the natural image size is smaller than the given maxwidth and maxheight, you can set the attribute stretch to yes to increase the size of the image until one of the given constraints is reached.
With the rotate attribute you can rotate images in 90 degree steps (positive values: clockwise). The following example rotates an image 90 degrees counterclockwise if it is a portrait image. With the XPath command sd:aspectratio(<filename>) you can determine the aspect ratio of an image. If it is greater than 1, then it is a landscape image.
<data>
  <img file="_samplea.pdf" />
  <img file="_sampleb.pdf" />
</data>
<Layout xmlns:sd="urn:speedata:2009/publisher/functions/en"
xmlns="urn:speedata.de:2009/publisher/en">
<Record element="data">
<ForAll select="img">
<PlaceObject>
<Image file="{@file}" width="5"
rotate="{if ( sd:aspectratio(@file) < 1 ) then '-90' else '0'}"/>
</PlaceObject>
</ForAll>
</Record>
</Layout>

| The curly brackets at file and rotate mean that the system jumps to XPath mode to evaluate the XPath expressions (access to the file attribute and the if-then query). See the XPath and Layout Functions for more information. |
Note: if the image in the argument of sd:aspectratio() is not available in the filesystem, the value is taken from the placeholder image (chapter Image not found?). To check if an image is available at all, you can use the command sd:file-exists(<filename>).
Usually the images are stored in the file system or in a DAM (digital asset management). In the file system they can be addressed either with an absolute path:
<Image file="file:///path/to/the/image.pdf" />
or as a file in one of the subdirectories of the search path, as in the examples above. For example, the images can be located in the subdirectory images. See the section on File organization.
The images can also be loaded from a web server using http(s) protocol. The syntax is analogous to the absolute path, for example:
<Layout xmlns="urn:speedata.de:2009/publisher/en" >

  <Record element="data">
    <PlaceObject>
      <Image file="https://picsum.photos/400/300" width="5"/>
    </PlaceObject>
  </Record>
</Layout>
The images that are loaded via http and https are cached on the hard disk. With each request, the system checks whether the image is still up-to-date and only downloads it again if necessary. If the image is deleted on the server, it is also deleted in the local system.
With sp --cache=fast you can use the fast caching method, which downloads the image from the server only once and then does not check if it is still up-to-date.
The sp clearcache command deletes the cache.
The location of the image cache can be controlled either by tempdir (command line and configuration file) or by the imagecache key in the configuration file (not on the command line).
What happens if an image is not found? The normal behavior is to output an error message and a placeholder image indicating the missing image:
<PlaceObject>
    <Image file="doesnotexist" width="5"/>
</PlaceObject>

Another possibility is to use fallback to determine a placeholder image yourself:
<PlaceObject>
    <Image file="doesnotexist" fallback="......" width="5"/>
</PlaceObject>
You can also set whether it is an error when a placeholder image is selected or only a warning.
<Options imagenotfound="error"/>
or warning for a warning.
PDF files have some peculiarities: they can contain several pages and the individual pages have different boxes that mark the visible area and other areas. Some of the boxes are important for printing, some for viewing in the PDF viewer. The box that is to be displayed with the specified sizes is determined with the visiblebox attribute:
<Image file="page.pdf" visiblebox="artbox" width="210mm" height="297mm" />
means that the "artbox" is displayed in the size 210mm × 297mm
The page attribute is also described in the section Embed multipage PDF files. It is used to select the page when a PDF file is embedded. With sd:number-of-pages('filename') it can be determined how many pages a PDF file contains.
Some layout functions (sd:aspectratio(), sd:imageheight(), and sd:imagewidth()) access image files.
In the case of a PDF file, the file name can be specified next to the optional page number and desired PDF box.
Example: sd:aspectratio('ocean.pdf',3,'mediabox')
If no box is specified, the cropbox is used. Possible values for the box specification: artbox, cropbox, trimbox, mediabox and bleedbox.
The Publisher usually only processes PDF, PNG and JPEG files. In order to use other formats, you have to convert them into one of the three formats. This can be done in advance, but also during the runtime of the Publisher.
<Layout xmlns="urn:speedata.de:2009/publisher/en"
  xmlns:sd="urn:speedata:2009/publisher/functions/en">

  <Record element="data">
    <PlaceObject>
      <!-- tiff can only be used with an external converter -->
      <Image file="rhslogo.tiff"/>
    </PlaceObject>
  </Record>
</Layout>
To use the conversion, you have to enter the program calls in the configuration file. Here the program convert from ImageMagick is used:
imagehandler="tiffimage:(convert %%input%% %%output%%.pdf)"
extensionhandler="tiff:tiffimage"
The file name extension .tiff is assigned to the handler tiffimage (line 2). In the first line, the handler tiffimage is assigned to the program convert %%input%% %%output%%%.pdf, whereby the file names are replaced at runtime. If the file names contain spaces, you need to use double quotes (without backslash or other escape characters before):
imagehandler="tiffimage:("/path/with space/convert" "%%input%%" "%%output%%.pdf")"
You can also specify several handlers, separated by semicolons:
imagehandler="tiffimage:(...);gifimage:(...)"
extensionhandler="tiff:tiffimage;gif:gifimage"
There are countless picture description languages in which pictures are not drawn or painted with an external program, but are described textually. For example “draw a square with an edge length of 4cm” or “create a pie chart with the following values: …”. These graphics are then converted from the description language into various formats, usually as PNG or PDF. With the Publisher it is possible to embed such descriptions since version 3.9.1:
<Layout xmlns="urn:speedata.de:2009/publisher/en"
xmlns:sd="urn:speedata:2009/publisher/functions/en">
<Record element="data">
<PlaceObject>
<!-- we need to specify the imagetype -->
<Image width="7cm" imagetype="mermaid" >
<Value>sequenceDiagram
participant Alice
participant Bob
Alice->>John: Hello John, how are you?
loop Healthcheck
John->>John: Fight against hypochondria
end
Note right of John: Rational thoughts <br/>prevail!
John-->>Alice: Great!
John->>Bob: How about you?
Bob-->>John: Jolly good!
</Value>
</Image>
</PlaceObject>
</Record>
</Layout>
Necessary is of course the configuration how the external converter is called. This works similar to the TIFF example in the previous section:
imagehandler="mermaid:(/usr/bin/mmdc -i %%input%% -o %%output%%.pdf)"
The result is a sequence diagram, created by mermaid and converted to PDF.

Of course it is also possible to extract the image description from the data. For this purpose the image command must be structured as follows.
<PlaceObject>
  <Image width="7cm" imagetype="mermaid" >
     <Value select="imagedata" />
  </Image>
</PlaceObject>
There is an extra chapter for MetaPost graphics. Here is shown how to include these images.
.mp:
<Image file="myfile.mp" />
metapost:
<Image width="7cm" imagetype="metapost">
    <Value>....</Value>
</Image>
See also the chapter on MetaPost and the examples at the examples repository.
Large image files also generate large PDF files when they are included, regardless of how wide and high they are displayed in the PDF.
If you want to limit the resolution (and therefore the file size), you can achieve this with the dpi option at PDFOptions.
DPI stands for dots per inch and is a unit of measurement for pixel density.
The lower the number, the “worse” the image looks.
By limiting the resolution, you can sometimes obtain much smaller files.
Example: if an image with a width of 720 pixels is to be displayed on a paper width of 1 inch, the resolution in the PDF would be 720 dpi. As a rule, such a high resolution is not necessary. Depending on the application (print/online viewing), a resolution of 300 dpi or 120 dpi may be sufficient, for example.
In addition to the regular imagehandler entries in the configuration file, there is a resizehandler that adjusts the image size to the desired DPI value. If no resize handler is defined, the Publisher uses a built-in library to change the image size.
The resize handler is used internally by the Publisher whenever the image size needs to be reduced according to the dpi setting.
The definition works in the same way as an imagehandler, but the placeholders %%width%% and %%height%% are available for the automatically determined target size. These values are not specified by the user – they are calculated by the Publisher based on the output size and the configured resolution (dpi).
Example using ImageMagick:
resizehandler="jpegimage:(magick %%input%% -resize %%width%%x%%height%%! %%output%%)"
In this example, the magick (ImageMagick) command is used for JPEG files to downscale the image internally to the size calculated by the Publisher. The exclamation mark (!) forces the exact target size.
This mechanism ensures that the output size and the required resolution are respected without any manual user intervention.
It is important to also define an extensionhandler for the file extension (e.g. jpg or jpeg in the example), so that the resize handler will actually be used.