Wrap around images
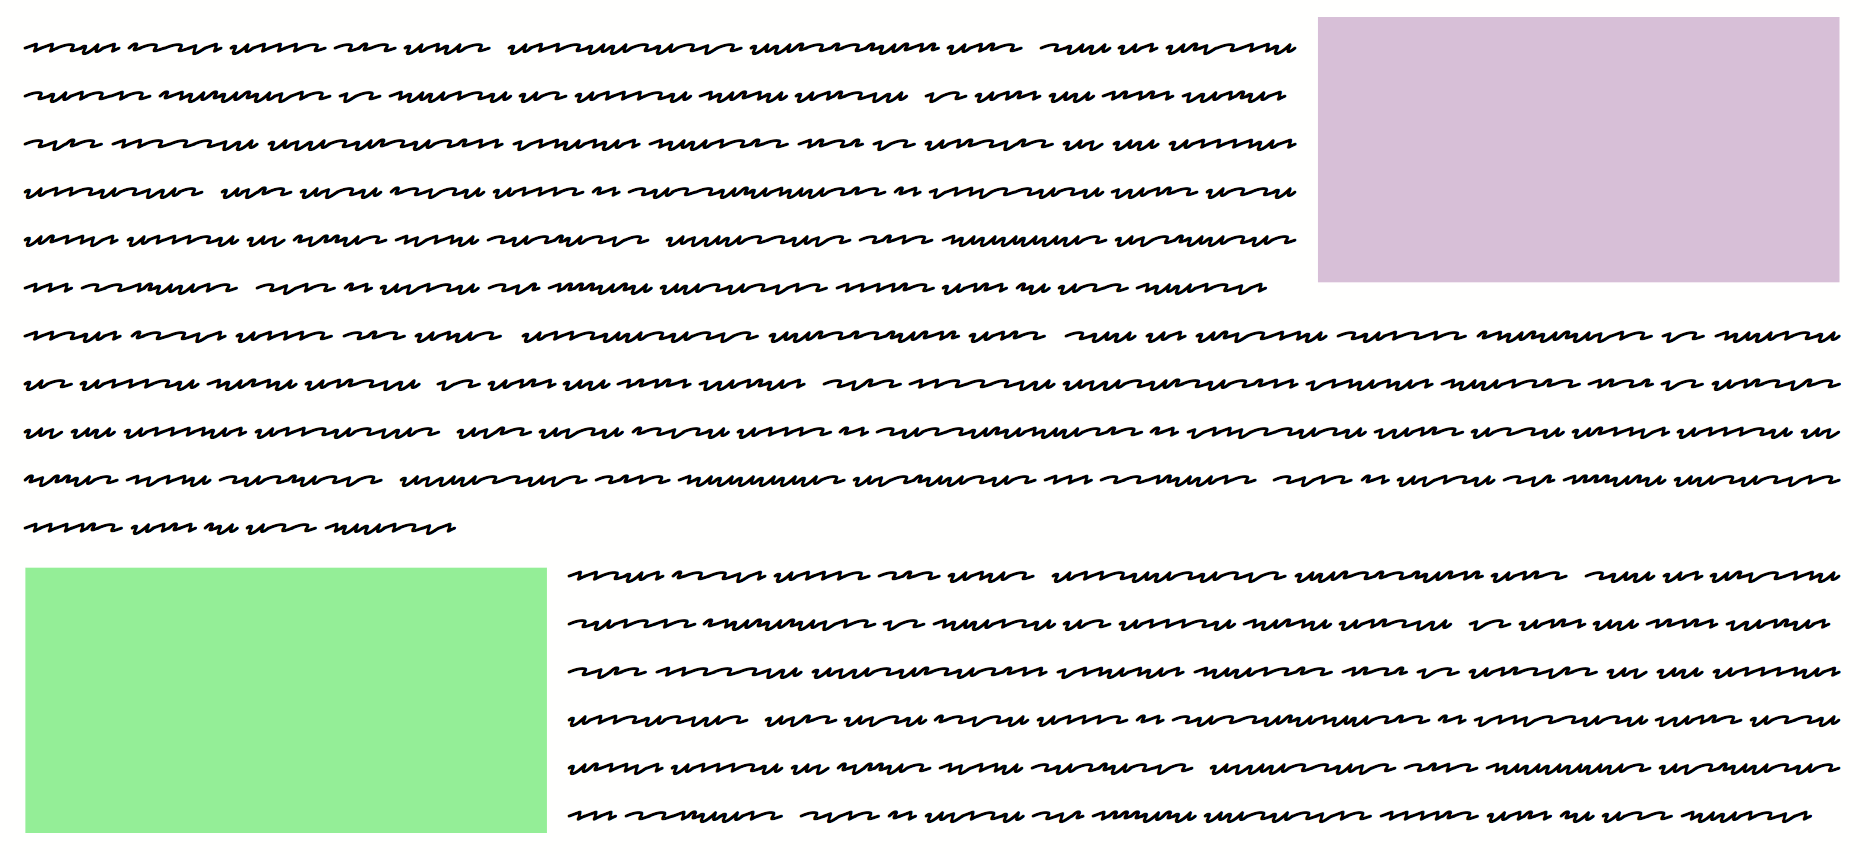
Text that is output using the <Output allocate="auto"> command flows around previously placed objects. It is therefore useful to place objects that are to be flowed around on future pages first. This can be achieved with the page attribute in the command <PlaceObject>. In the attribute you must specify either a concrete page number or next for the next page. To avoid the cursor being changed during output, it is recommended to set the attribute keepposition to yes.
The complete example can be found at https://github.com/speedata/examples/tree/master/technical/wraparoundobjects.
<Layout xmlns="urn:speedata.de:2009/publisher/en"
  xmlns:sd="urn:speedata:2009/publisher/functions/en">

  <SetGrid height="12pt" nx="10"/>

  <Pageformat width="180mm" height="90mm"/>
  <DefineTextformat name="text" orphan="yes" widow="yes"/>

  <LoadFontfile name="RedactedScript"
                filename="redacted-script-regular.ttf"/>
  <DefineFontfamily name="text" fontsize="10" leading="12">
    <Regular fontface="RedactedScript"/>
  </DefineFontfamily>

  <Record element="data">
    <PlaceObject column="8" row="1" keepposition="yes">
      <Box width="3" height="6"
           background-color="thistle" padding-left="2mm"
           padding-bottom="2mm"/>
    </PlaceObject>

    <PlaceObject column="1" row="12" keepposition="yes">
      <Box width="3" height="6"
           background-color="lightgreen" padding-top="2mm"
           padding-right="2mm"/>
    </PlaceObject>

    <Output allocate="auto" row="1">
      <Text>
        <Loop select="3">
          <Paragraph>
            <Value select="sd:dummytext()"/>
          </Paragraph>
        </Loop>
      </Text>
    </Output>
  </Record>
</Layout>
Automatic flow around objects that were previously output.
Complex shapes
It is possible to create outlines of images with non-rectangular shapes. For this purpose, an image file is provided with an outline file formulated in XML.
<Layout xmlns="urn:speedata.de:2009/publisher/en"
  xmlns:sd="urn:speedata:2009/publisher/functions/en">

  <SetGrid height="12pt" width="4mm"/>

  <Pagetype name="page" test="true()">
    <Margin left="1cm" right="1cm" top="1cm" bottom="1cm"/>
    <PositioningArea name="text">
      <PositioningFrame width="20" height="20" row="1" column="1"/>
    </PositioningArea>
  </Pagetype>

  <Record element="data">
    <PlaceObject column="16" row="1" keepposition="yes">
      <Image file="pocketwatch.pdf"/>
    </PlaceObject>

    <Output allocate="auto" row="1" area="text">
      <Text>
        <Loop select="3">
          <Paragraph>
            <Value select="sd:dummytext()"/>
          </Paragraph>
        </Loop>
      </Text>
    </Output>
  </Record>
</Layout>
The file pocketwatch.pdf file can have an outline file with the same name and the extension xml, which is structured as follows
<imageinfo>
  <cells_x>75</cells_x>
  <cells_y>100</cells_y>
  <segment x1="35" x2="40" y1="5" y2="5"/>
  <segment x1="33" x2="42" y1="6" y2="6"/>
  <segment x1="31" x2="44" y1="7" y2="7"/>
  <segment x1="30" x2="45" y1="8" y2="8"/>
  ...
  <segment x1="30" x2="46" y1="95" y2="95"/>
  <segment x1="33" x2="43" y1="96" y2="96"/>
</imageinfo>
The segments determine the occupied area. The specifications refer to the (arbitrary) unit of 75x100 units.
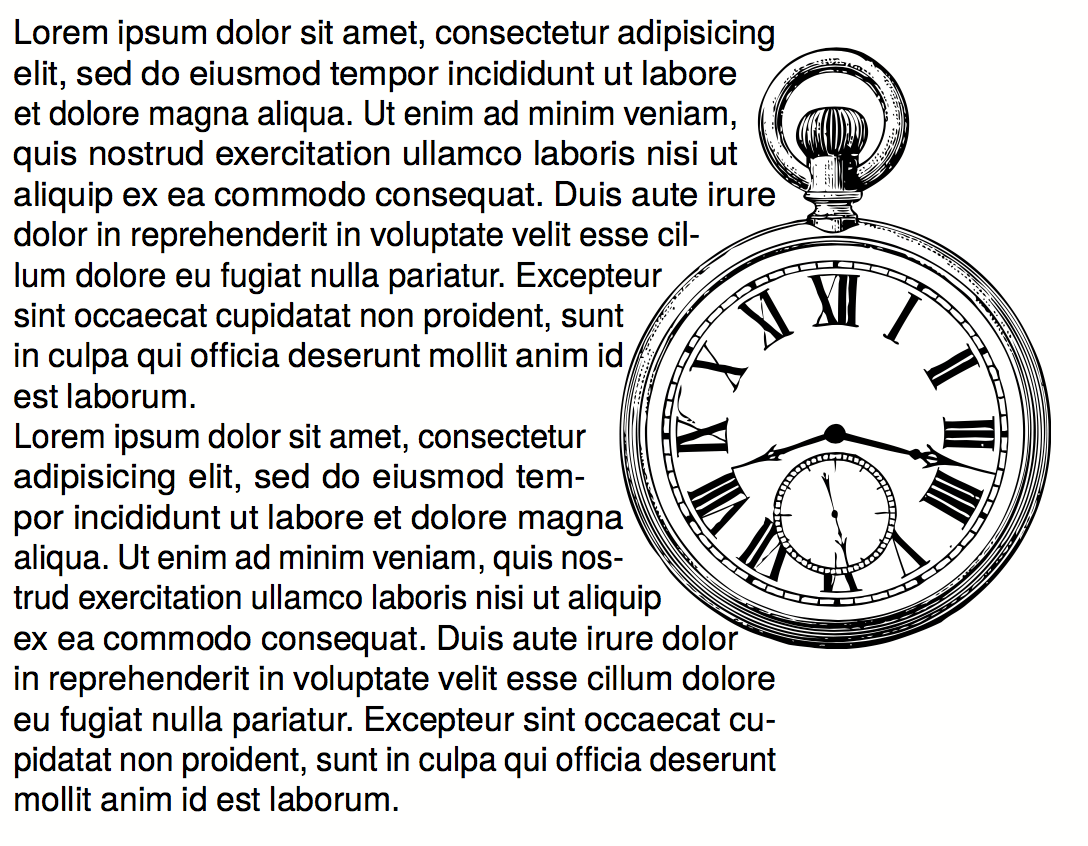
The shape of the watch must be determined in a preparatory step.
| This functionality is still experimental. The next versions of the Publisher will probably have improvements to this feature. The outline of an image can be created with the program imageshaper at https://github.com/speedata/imageshaper. A complete example can be found at https://github.com/speedata/examples/tree/master/imageshape. |