Rotation of contents
Objects that are output with <PlaceObject> can be rotated.
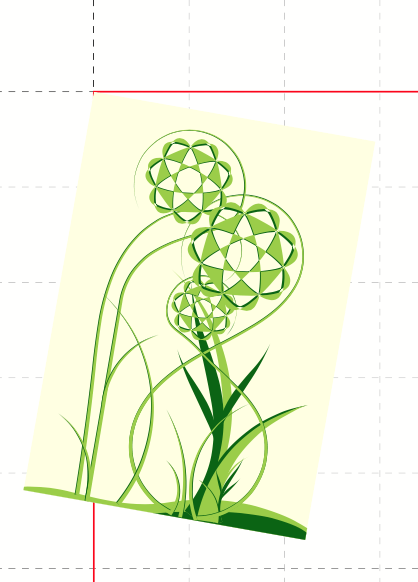
For this purpose, there is the attribute rotate, which expects an angle (in degrees), whereas positive values cause a clockwise rotation.
<PlaceObject rotate="10">
  <Image file="_sampleb.pdf" width="3"/>
</PlaceObject>
When an object is rotated, you need to specify the point around which it should rotate.
The default setting is the upper left corner.
With the attributes origin-x (left, center and right) and origin-y (top, center, bottom) you can define the axis of rotation.
In addition to these values, numbers from 0 to 100 are also possible, the upper left corner is 0, 0 and the lower right corner is 100, 100.
The image is rotated by 10 degrees. A negative value would make the rotation counterclockwise.
In examples repository on github there is a document in the technical directory which shows the effect of origin-x and origin-y.
|
Rotate images
The attribute rotate is available for both <PlaceObject> and <Image>. The attribute at <Image> can only rotate images in 90° steps. Therefore, in practice the rotation is rather controlled by <PlaceObject>.
Depending on what you are aiming at, rotation should be applied directly to the image <Image> or to the <PlaceObject> element.
This minimal sample shows the difference:
<Layout xmlns="urn:speedata.de:2009/publisher/en"
  xmlns:sd="urn:speedata:2009/publisher/functions/en">

  <Record element="data">
    <PlaceObject rotate="-90">
      <Image file="_sampleb.pdf" width="3cm"/>
    </PlaceObject>
    <ClearPage/>
    <PlaceObject>
      <Image file="_sampleb.pdf" width="3cm"  rotate="-90"/>
    </PlaceObject>
  </Record>
</Layout>
Bear in mind that this rotation might also affect to some given image dimensions.
Rotate via transformation
Using the command <Transformation> (see section Transformation and in the appendix the command description) you can also rotate contents.
The matrix has the form "cos θ sin θ -sin θ cos θ 0 0", for a rotation of 90 degrees thus "0 1 -1 0 0 0".
This is shown in the section Image behind the text.